Authentication
When you install Voyager Code, you'll be prompted to sign in or create a free account. This automatically configures everything you need to get started.
Quick Start with Voyager Account
The extension prompts you to sign in when you first open Voyager Code in VS Code. Click Sign In and complete the browser-based flow. Sign-in applies across extension surfaces, including the sidebar and Agent Manager.
Add credits to your account, or sign up for Voyager Pass.
Voyager Gateway API Key
If you're using the Voyager AI Gateway outside of the Voyager Code extension (for example, with the Vercel AI SDK or OpenAI SDK), you'll need an API key:
- Go to app.vgercode.com
- Go to Your Profile on your personal account (not in an organization)
- Scroll to the bottom of the page
- Copy your API key
Using Another API Provider
If you prefer to use your own API key or existing subscription, Voyager Code supports over 30 providers. Here are some popular options to get started:
| Provider | Best For | API Key Required |
|---|---|---|
| ChatGPT Plus/Pro | Use your existing subscription | No |
| OpenRouter | Access multiple models with one key | Yes |
| Anthropic | Direct access to Claude models | Yes |
| OpenAI | Access to GPT models | Yes |
These are just a few examples! Voyager Code supports many more providers including Google Gemini, DeepSeek, Mistral, Ollama (for local models), AWS Bedrock, Google Vertex, and more. See the complete list at AI Providers.
ChatGPT Plus/Pro Subscription
Already have a ChatGPT subscription? You can use it with Voyager Code through the OpenAI ChatGPT provider—no API key needed.
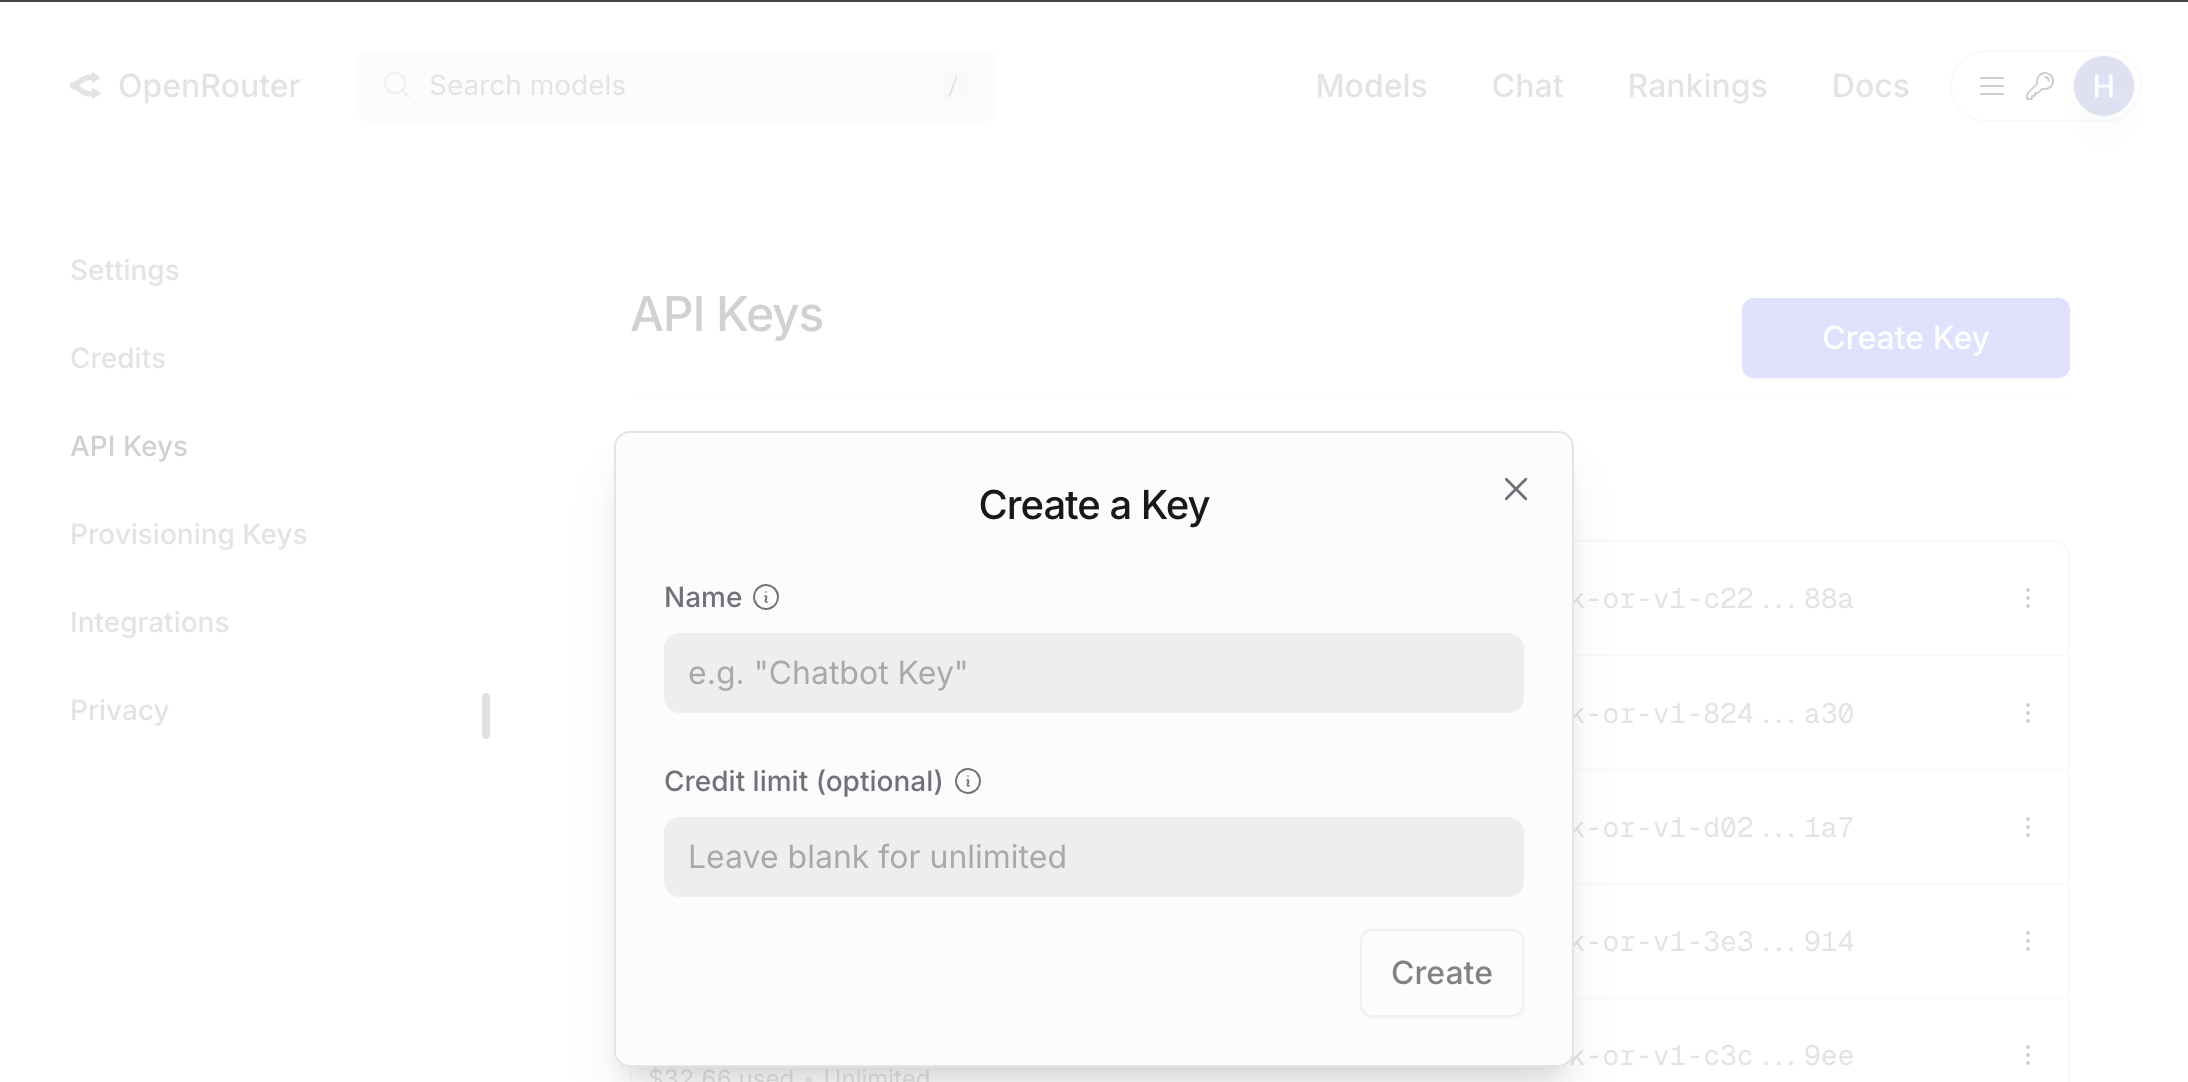
OpenRouter
- Go to openrouter.ai and sign in
- Navigate to API keys and create a new key
- Copy your API key
Anthropic
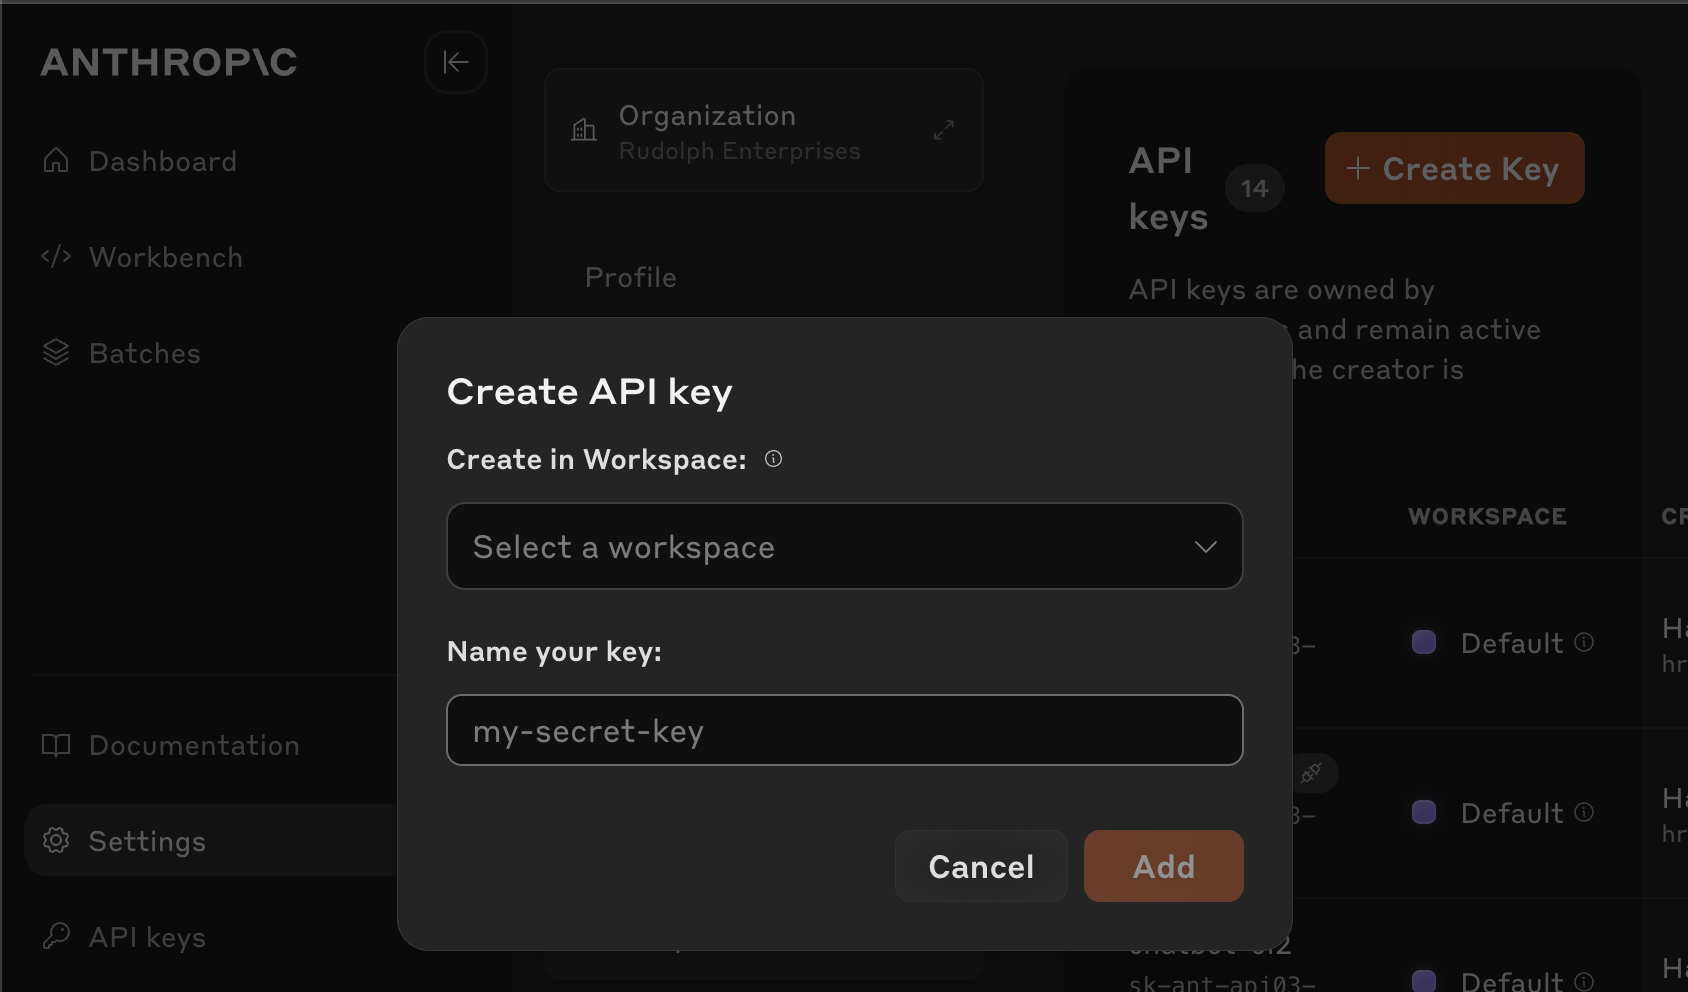
- Go to console.anthropic.com and sign in
- Navigate to API keys and create a new key
- Copy your API key immediately—it won't be shown again
OpenAI
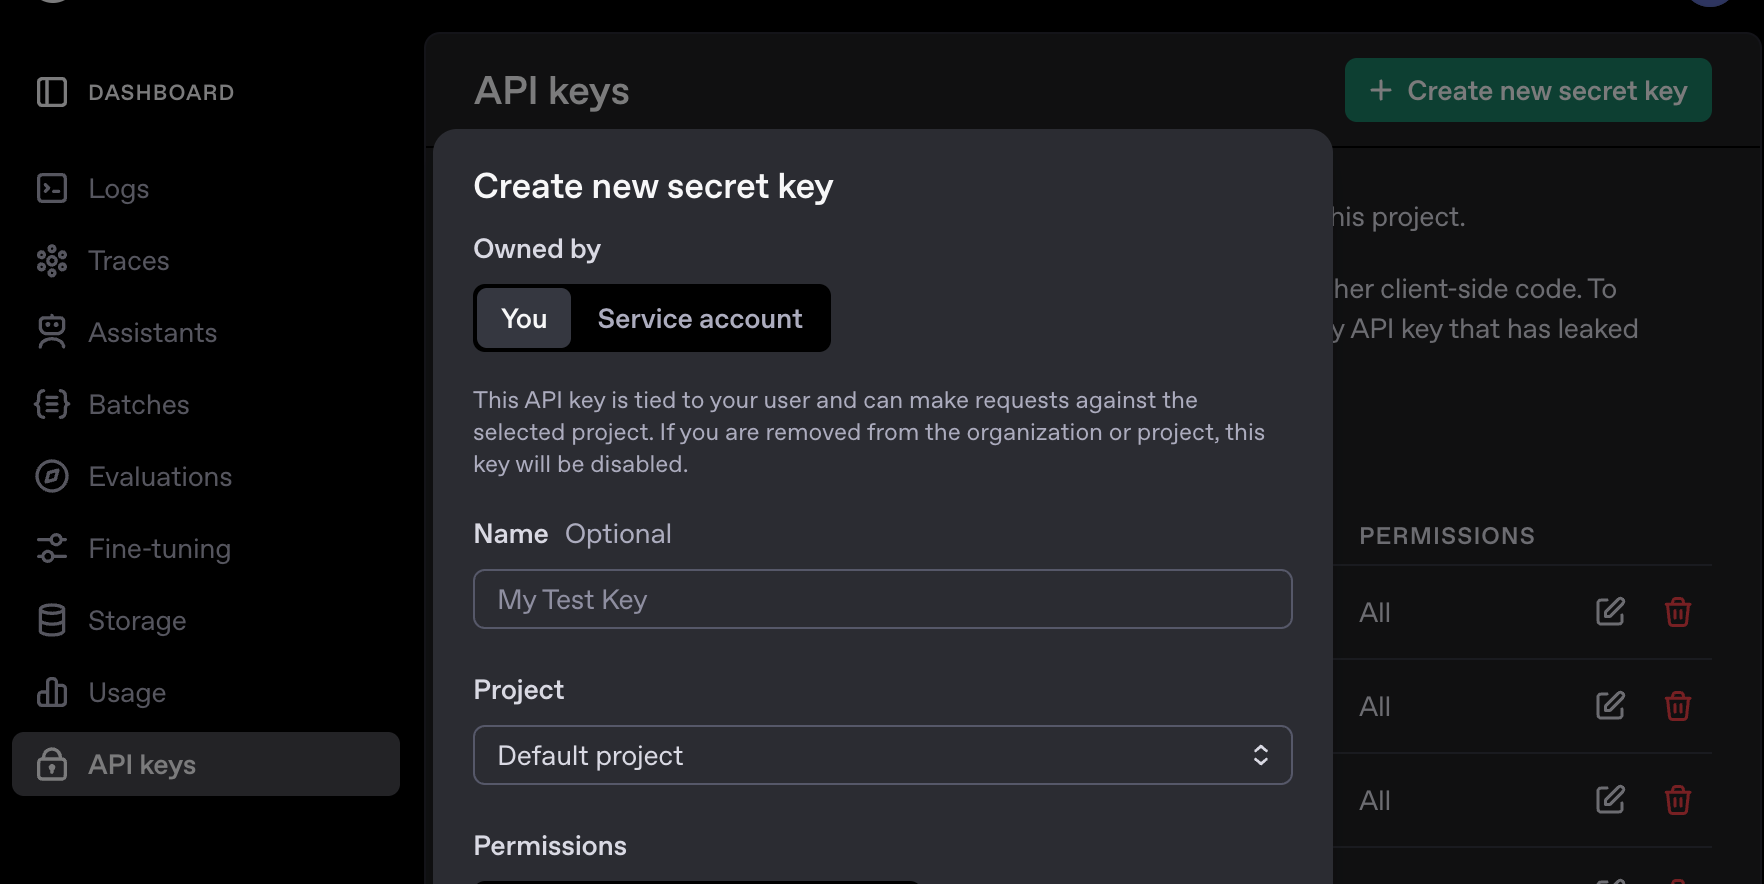
- Go to platform.openai.com and sign in
- Navigate to API keys and create a new key
- Copy your API key immediately—it won't be shown again
Configuring Your Provider
- Open Voyager Code in VS Code
- Click the gear icon () in the extension UI to open Settings
- Go to the Providers tab
- Select your provider and enter your API key
- Choose your model
These settings apply across the extension, including the sidebar and Agent Manager. Agent Manager does not need separate provider or Voyager CLI authentication setup.
Reach out to our support team or join our Discord community.